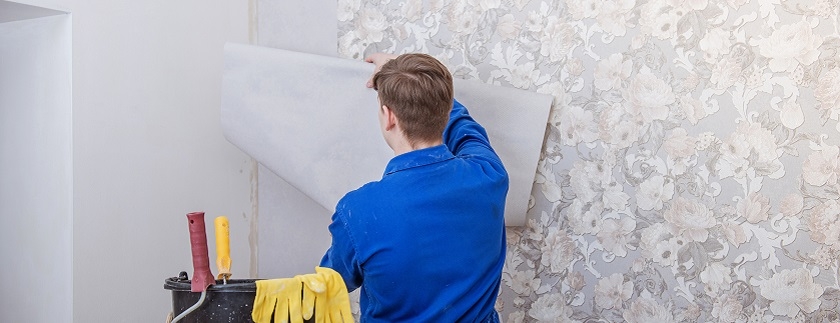
Wallpaper is back! There are many modern designs that make it a surprisingly stylish option for decorating. It’s also a DIY task that when carried out properly, can be really rewarding. Here are ten steps to wallpapering, with some top tips for the tricky bits.
Preparing the walls
Preparation is the first step in pretty much any DIY task, but for wallpapering, it is essential. Check the walls for any nails or old wall plugs. Nails can be easily removed with a claw hammer, but embedded wall plugs can be tricky to remove. If you can’t get them out with pliers or wire cutters. Try screwing in any old screw that fits, and use the claw hammer on the screw, this should bring out both the screw and the wall plug. This could easily bring part of the plaster with it, which can be patched up using multi-purpose filler and a scraper, and once dry you can level off any bumps with sandpaper. Finally, make sure the walls are completely clean and dry.
Ensuring the first strip is level
Using a chalk line, plumb or spirit level, draw a vertical line on the wall. This will help ensure that when you apply the first strip it is level, this is especially important if you live in an older house where the walls and joins aren’t perfect. Once you’ve done this you can measure out the first strip, ensuring that there is enough excess paper for overlap – don’t try to cut to size.
Prepare the paste and paper
Using a paint kettle or roller paint bucket, mix the wallpaper adhesive with the required amount of water as shown on the pack. Using a wallpaper table, roll the paper out weighting the ends if needed. The tip for getting perfect coverage of paste is to use a high quality ½ inch roller – cheap ones will leave fuzz behind. Transfer the wallpaper adhesive to the roller tray and apply a thin coat to the paper ensuring you reach the corners. Some find it easier to instead apply the paste straight to the wall.
Applying the first strip
Using the line you’ve drawn, hang the first strip from the top. using a paperhanger brush gently smooth out from the middle of the paper to the edges.
Smoothing out air bubbles
Using the paperhanger brush should ensure you’ve removed any bubbles, but if there are any left use a clean cloth to smooth them out. Work them out to the edges. If you’re getting a lot of bubbles or one big one, gently lift the paper and again, begin smoothing it out to the edge.
Cutting the excess
Once you have the paper completely flush to the wall, skirting boards and coving, you are ready to cut any excess. Use a Stanley knife to carefully follow the line of the boards and coving. If you find this difficult, pull the wallpaper away slightly and cut using wallpaper scissors. You could also use a taping knife as a cutting edge guide.
Matching the pattern
Following step 4, prepare the paper, again ensuring there’s enough excess for cutting. It’s easiest to fold or roll the paper and then work to match up the pattern. Ensure there is no overlap with the first strip, they should sit flush to each other so there’s no bump on the join.
Corners
Applying wallpaper to corners can be tricky, but it can be done if you take your time. Apply to the first wall and then using the brush or cloth, gently work the paper into the corner, until the paper gently rests on the second wall. Keep your movements light so that you have enough movement in the paper to get right into the corner. Using scissors, make an incision in the paper at the top where the corner meets the ceiling, so that you can fold the paper over to the second wall. Do this again at the bottom.
Cutting around sockets
When you reach an area which contains a socket or light switch, hang your wallpaper as before but don’t smooth down the strip too much around the area. Where you feel the socket, make an incision around the middle. Cut away in a diamond reaching each corner, be very careful not to cut too much. Smooth down the paper to the edges of the socket and use the Stanley knife to take the paper to the corners. Once you are satisfied that the paper is smooth around all edges, use the knife to cut the paper flush to the socket. Alternatively, slightly loosen the screws on the socket/switch so there is a small gap to the wall and cut the paper so it can be tucked into the gap and behind.
Finishing
To finish the job, smooth down every piece with a natural sponge or clean cloth, and use the seam roller to roll once more over every seam – this helps set the edges, but don’t roll too hard as adhesive may squeeze out. Rolling is essential to help keep the edges from curling.


