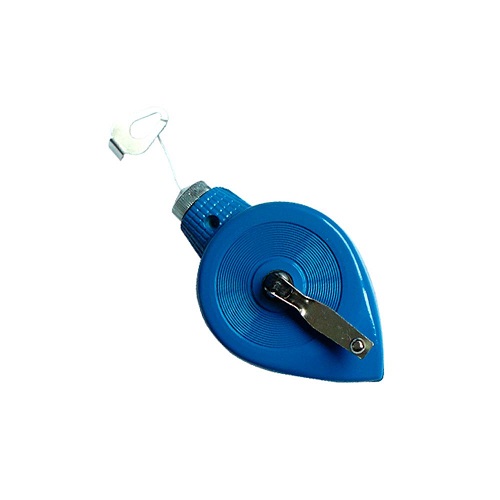
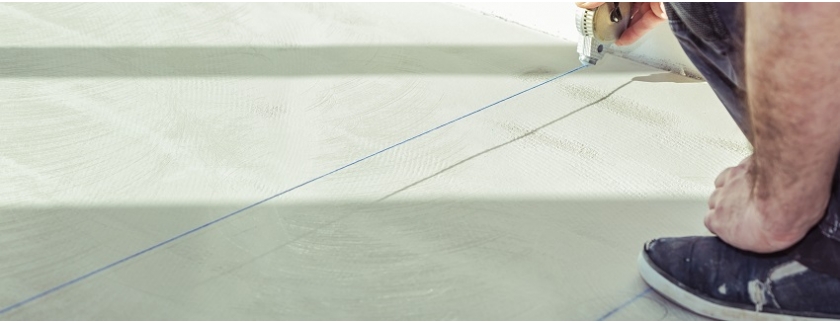
A chalk line is a quick and accurate way to mark a guideline without using a pencil and straight edge. When you no longer need the guide, you can simply rub the chalk away. It’s used when you want to draw an exceptionally long line between two points, or when working on a space that is difficult to visually see.
Guidelines are amongst the simplest and most useful element in a tool kit. Apart from expensive lasers, there’s no better tool to making a perfectly straight line over a long distance so quickly and reliably.
- Mark out where you want your guideline to start and knock in a temporary fixing, such as a nail or screw, into this position.
- Hook the chalk line at one end.
- Unroll the chalk line until it reaches the desired destination point.
- Using a spirit level, check that your chalk line is level.
- Once confident, you can either place another temporary fixing for the string to wrap around, or you can hold the end taut.
- Grip the line, ideally around the midpoint, and pull it back, pinging the taut string. This will leave a perfectly straight line to follow on your surface.
- Remove the line and any temporary fixings.
Chalk line tools have a chalk reservoir in their body, so that the line is chalked whenever it is extended or wound back in. The chalk box or case can often be refilled. To refill you should pull all the string out of the container tapping it as you go, then wind it back in. This ensures all the string is covered in chalk. You should try not to overfill as it can get clogged up.
There is often a clip at the end of the chalk line, designed to sit over a nail or screw head and the angled edge can sit flush against a wall or joint edge, holding it in place.
Chalk lines are often used in carpentry projects, decking, building, roofing, dry walls and even decorating.


