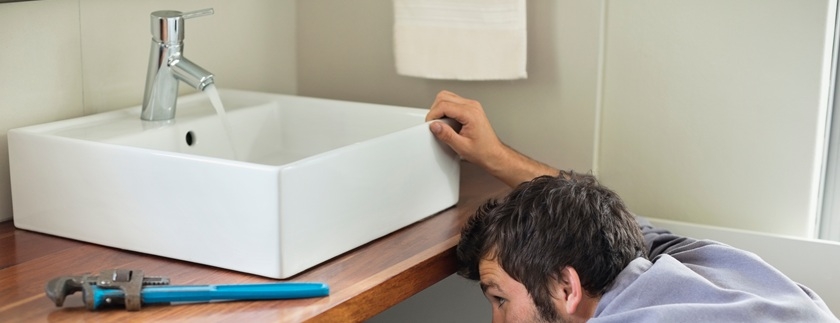
Replacing your sink can seem incredibly daunting, and we know so many of us are instantly put off attempting any home improvements if they involve plumbing. However, it is nowhere near as scary as it sounds, and it is a quick job that is absolutely possible to be done by you.
With a couple of basic tools, a bit of careful preparation, and perhaps a bit of a pep talk, you can easily upgrade your bathroom sink this weekend with no previous plumbing experience.
Things You’ll Need:
● Adjustable Spanner or Basin Wrench: For actually removing the basin.
● Pipe Cutter: For trimming any pipes, but you might not need it if everything fits the same.
● Bucket: For collecting any drips or excess water.
● Towels or Rags: For mopping up any small spillages that will occur.
● Silicone Sealant and Sealant Gun: This will make everything watertight.
● Screwdriver: For attaching your fixings.
● Spirit Level: Because there’s nothing worse than a wonky sink.
● Drill and Wall Plugs: For fixing your basin to the wall.
● New Fixings: You might not need them, but you may choose to upgrade them anyway.
Step 1: Turn off the Water
Please don’t forget this step! Turn off your water by finding the isolation valves under the sink. If you cannot find any there, then shut off your water supply at the mains. You should then open up your taps to drain off any leftover water to provide a surprise flood.
Step 2: Disconnect Waste Pipe and Water Feeds
Grab your bucket and place it under the U-bend (it looks like a U) to catch any drips. Next, you can use your wrench to loosen the nuts that’ll be holding the waste trap and water supply pipes in place. Carefully unscrew them to disconnect the pipes as they might not have been adjusted in many years.
Step 3: Unscrew the Sink
Your sink will either be wall-mounted or sitting on a pedestal. Locate and unscrew any brackets or wall fittings, and take a second to run a blade carefully along any silicone edges to free them. You should be able to lift the sink away now, but feel free to get help if it’s very heavy or awkward to carry.
Step 4: Assess the Damage
You might remove the sink and find damaged plaster or grimy-looking pipes. Now is the ideal time to address these issues, so take a moment to replace any weird-looking pipe work and patch up plaster before any of it becomes a problem further down the line.
Step 5: Fit Your New Sink
It’s not as scary as it sounds! Mark your bracket positions using a spirit level and double-check your measurements. Then you can drill some pilot holes and insert the wall plugs into those holes.
Now it’s time to fix the sink to the wall using the brackets and screws that were provided with your new sink. Then you can reconnect the water feed pipes. Use a little PTFE tape if you want to make the joins extra watertight. Once that’s taken care of, you can do the same to reconnect the waste trap. Be sure you don’t overtighten anything, though.
Now you just need to run a small bead of silicone sealant around the edges of your sink to make sure everything is watertight and you’re good to go.
Step 6: Test Your New Sink
Slowly turn your water back on and check for any leaks. It’s sensible to keep your bucket there just in case you find any! If you do, gently tighten anything that is dripping until the dripping stops.
And you’ve done it! Now onto the rest of the bathroom…


