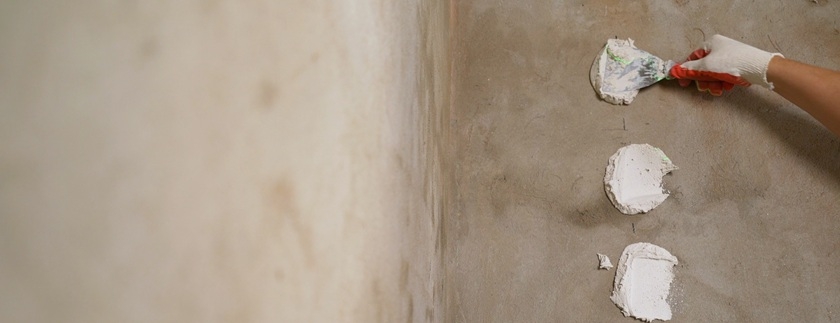
Textured walls are back and better than ever. It’s time to embrace the rustic charm, modern minimalism with an edge or even a Mediterranean limewashed paradise with super simply textured walls.
It’s so much easier than you might think, and all you need is a little filler, paint, and patience! Grab your scraper and get ready to create a look that leaves a lasting impression.
Things You’ll Need:
● Pre-Mixed Wall Filler: For the beautiful textured look.
● A Wide Metal Scraper or Trowel: To help you create the look.
● Paint (Ideally matt emulsion): Go bold or keep it neutral.
● Mixing Stick or Paddle: To prepare your products.
● Paint Roller and Brush: To apply your colour of choice.
● Sandpaper (Optional): For a slightly smoother texture.
● Dust Sheets and Masking Tape: Just in case things get a bit messy.
● Texture Additive (Optional): If you fancy a grainy finish.
Step 1: Prep Like the Pros
Start your project by covering all your floors and furniture with dust sheets. Next, you should tape off skirting boards, sockets, and corners to provide a mess-free edging. Now it’s time for the preparation to really begin! Clean your entire wall surface and fill in any major cracks or holes you find, as a smoother wall makes a much better textured surface.
Step 2: Mix Up Your Product
Grab a clean bucket to mix your paint with filler in. A good rule to follow is two parts paint to one part filler, then go from there!
The consistency of your mix should be reminiscent of cake batter, but you can easily add more filler or water if you need it to be thicker or runnier. If you’re adding any texture additives, now is the time to bring them into the mix…
Step 3: Start to Apply the Texture
This is where the fun begins! Using your wide scraper or trowel, apply the mixture to your wall in large sweeping strokes. The key is to stop worrying about neatness and embrace any imperfections for a truly abstract look.
A couple of fun looks to attempt are:
● Go for a Tuscan look with large swirls.
● Rustic vibes can be achieved with crisscross motions.
● Upward strokes make a lovely modern stucco look.
Of course, you can combine these techniques or try something entirely unique to you for a bespoke finish.
Step 4: Let it dry
Patience is key to this part of the process. Do not touch your creation for at least 24 full hours to give it enough time to dry solid. If you attempt to work whilst your hard work is still wet, it will destroy all of the lovely texture.
If you’re especially eager for it to be complete, then you can use a heater to get it to dry more quickly. Just don’t turn the heat up too high, as cracks might appear. When your work is dry, gently sand over any sharp edges. Just don’t sand too hard, as the wall will become smooth again.
Step 5: Finishing Touches
You can enhance the contrast by rolling a very thin coat of paint over the dried design. You can also dry brush some highlight to further emphasise the raised areas or use a metallic finish for a crystal-like finish.
Handy Tips
● Try using a smaller scraper for tricky areas.
● A thick roller can be used to apply the mixture for a subtler look.
● Test your texture on a large piece of cardboard before you go all in.


